Exhibitors Products
-
)
-
)
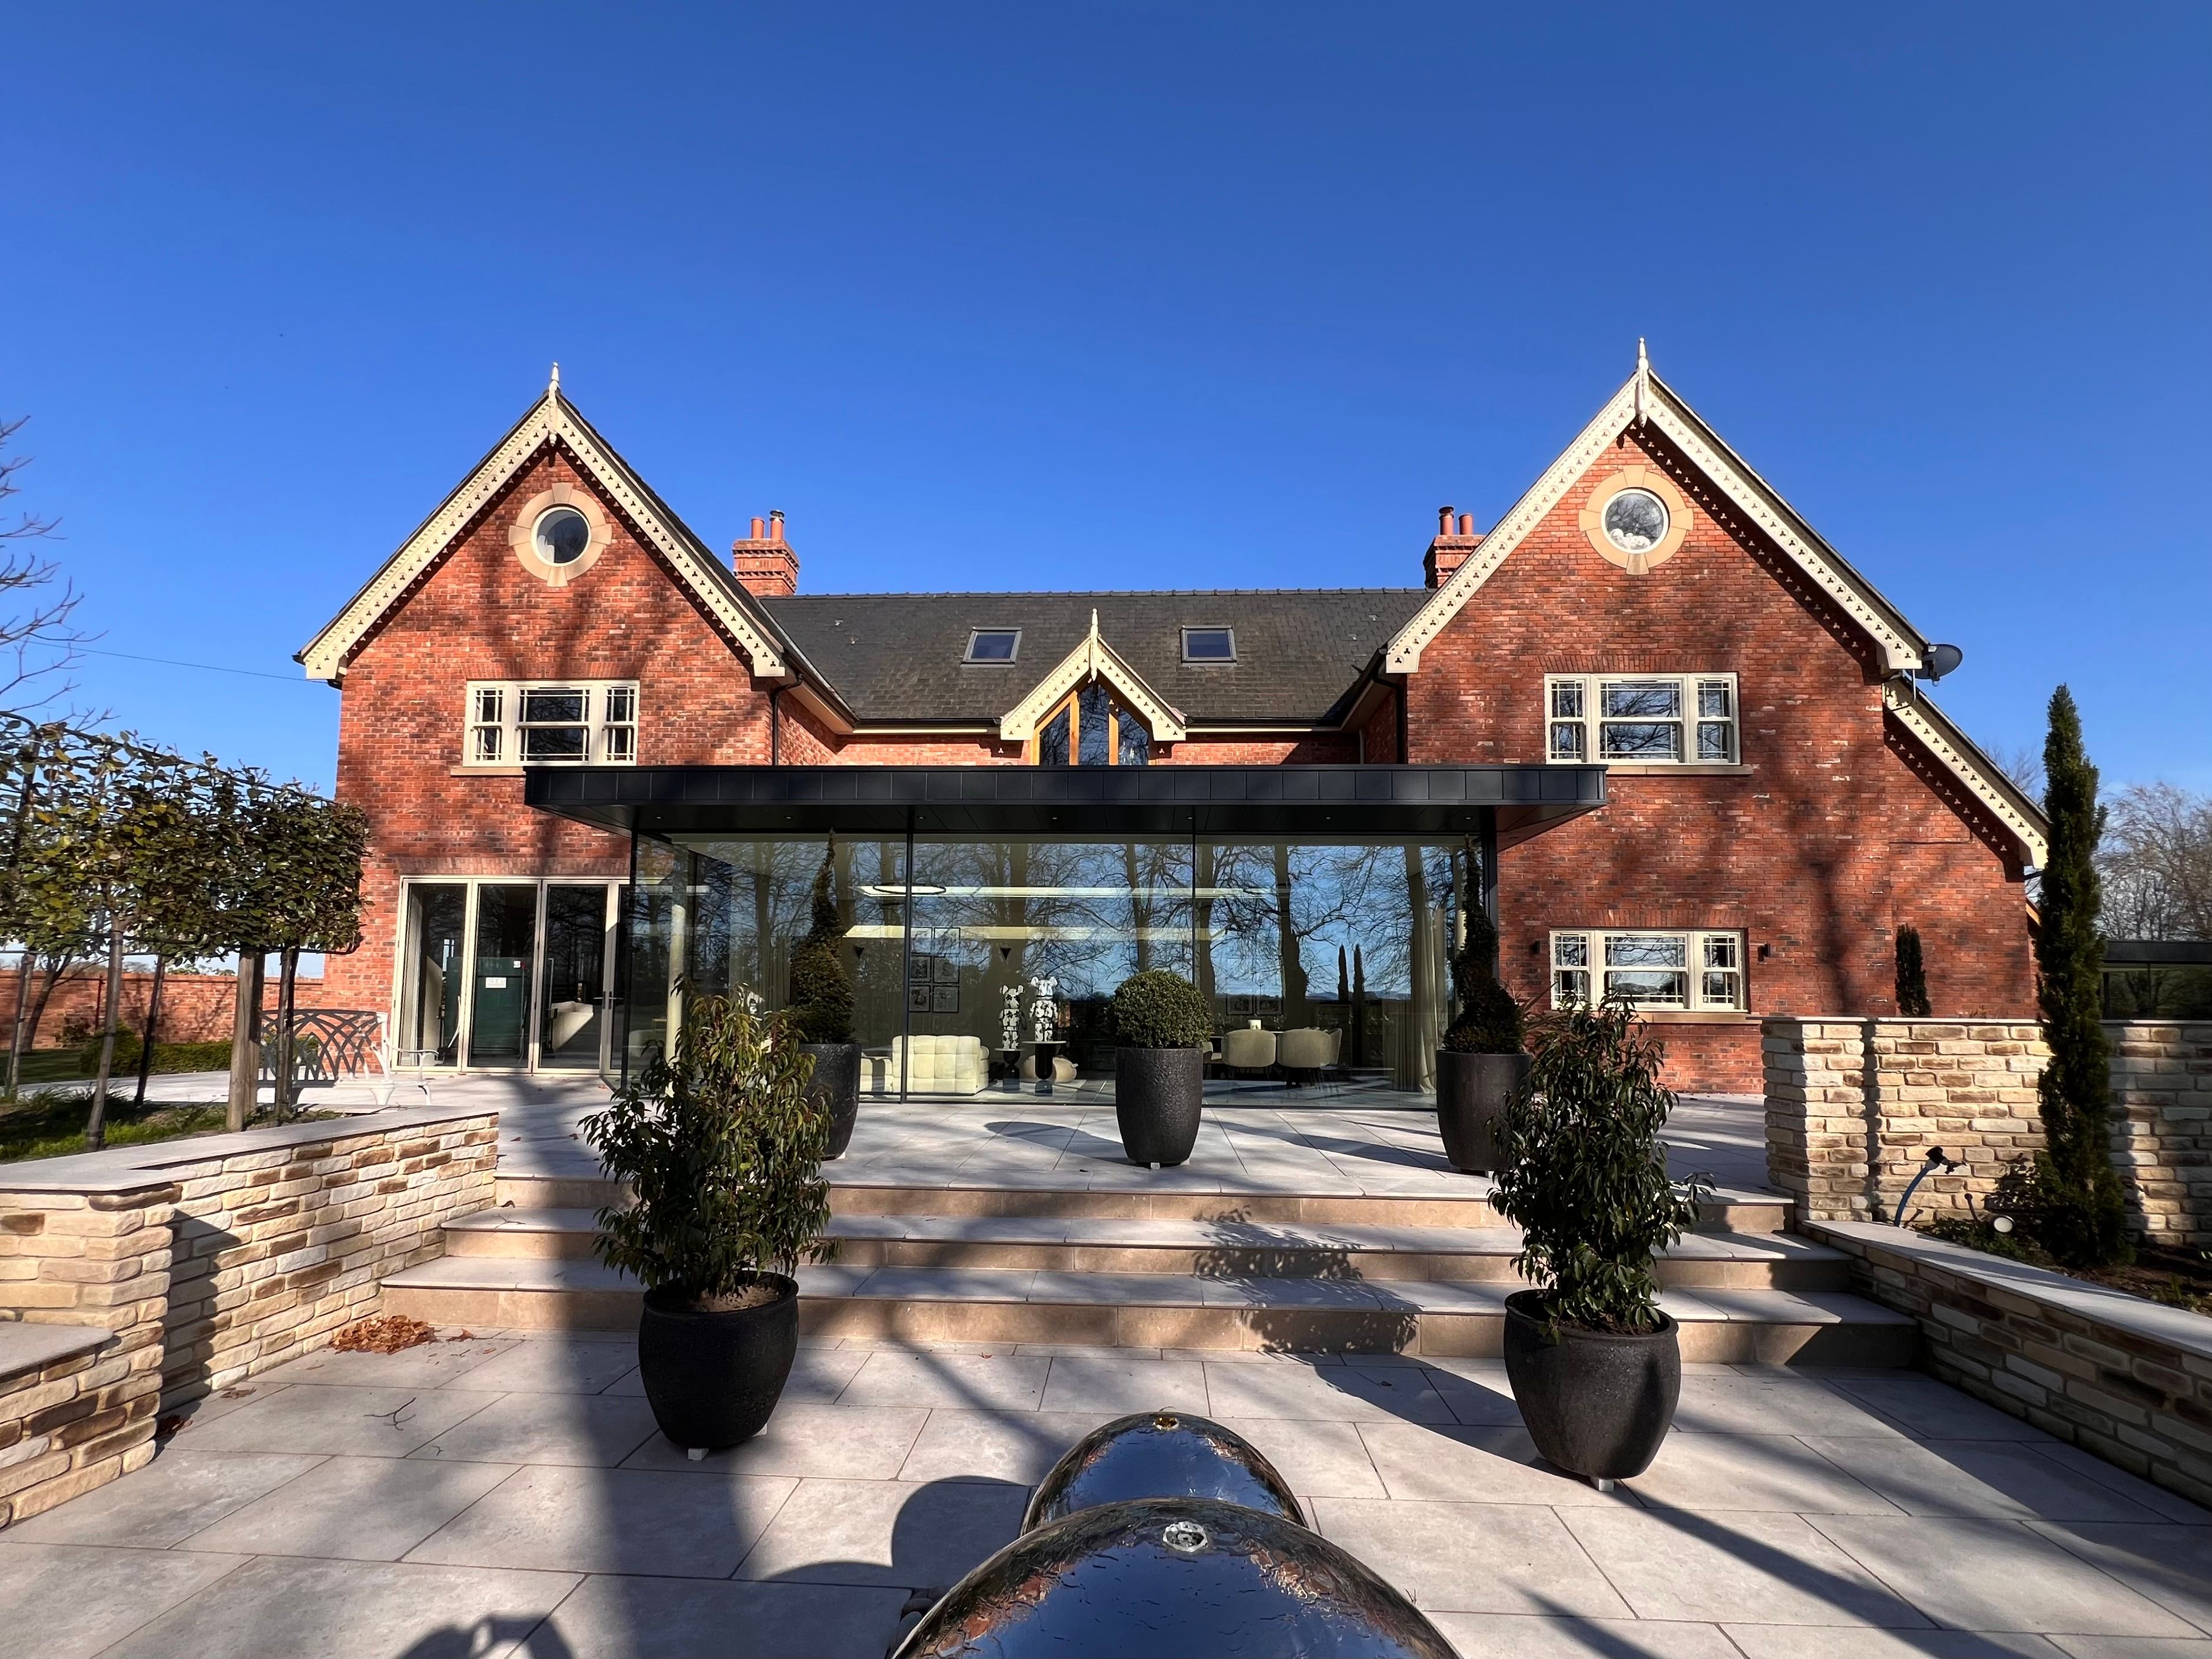
RIBA Award winning extension and remodel.
-
)
Large extension and remodel of a farmhouse in The Shropshire Hills.
-
Single storey kitchen extension in Shrewsbury.
-
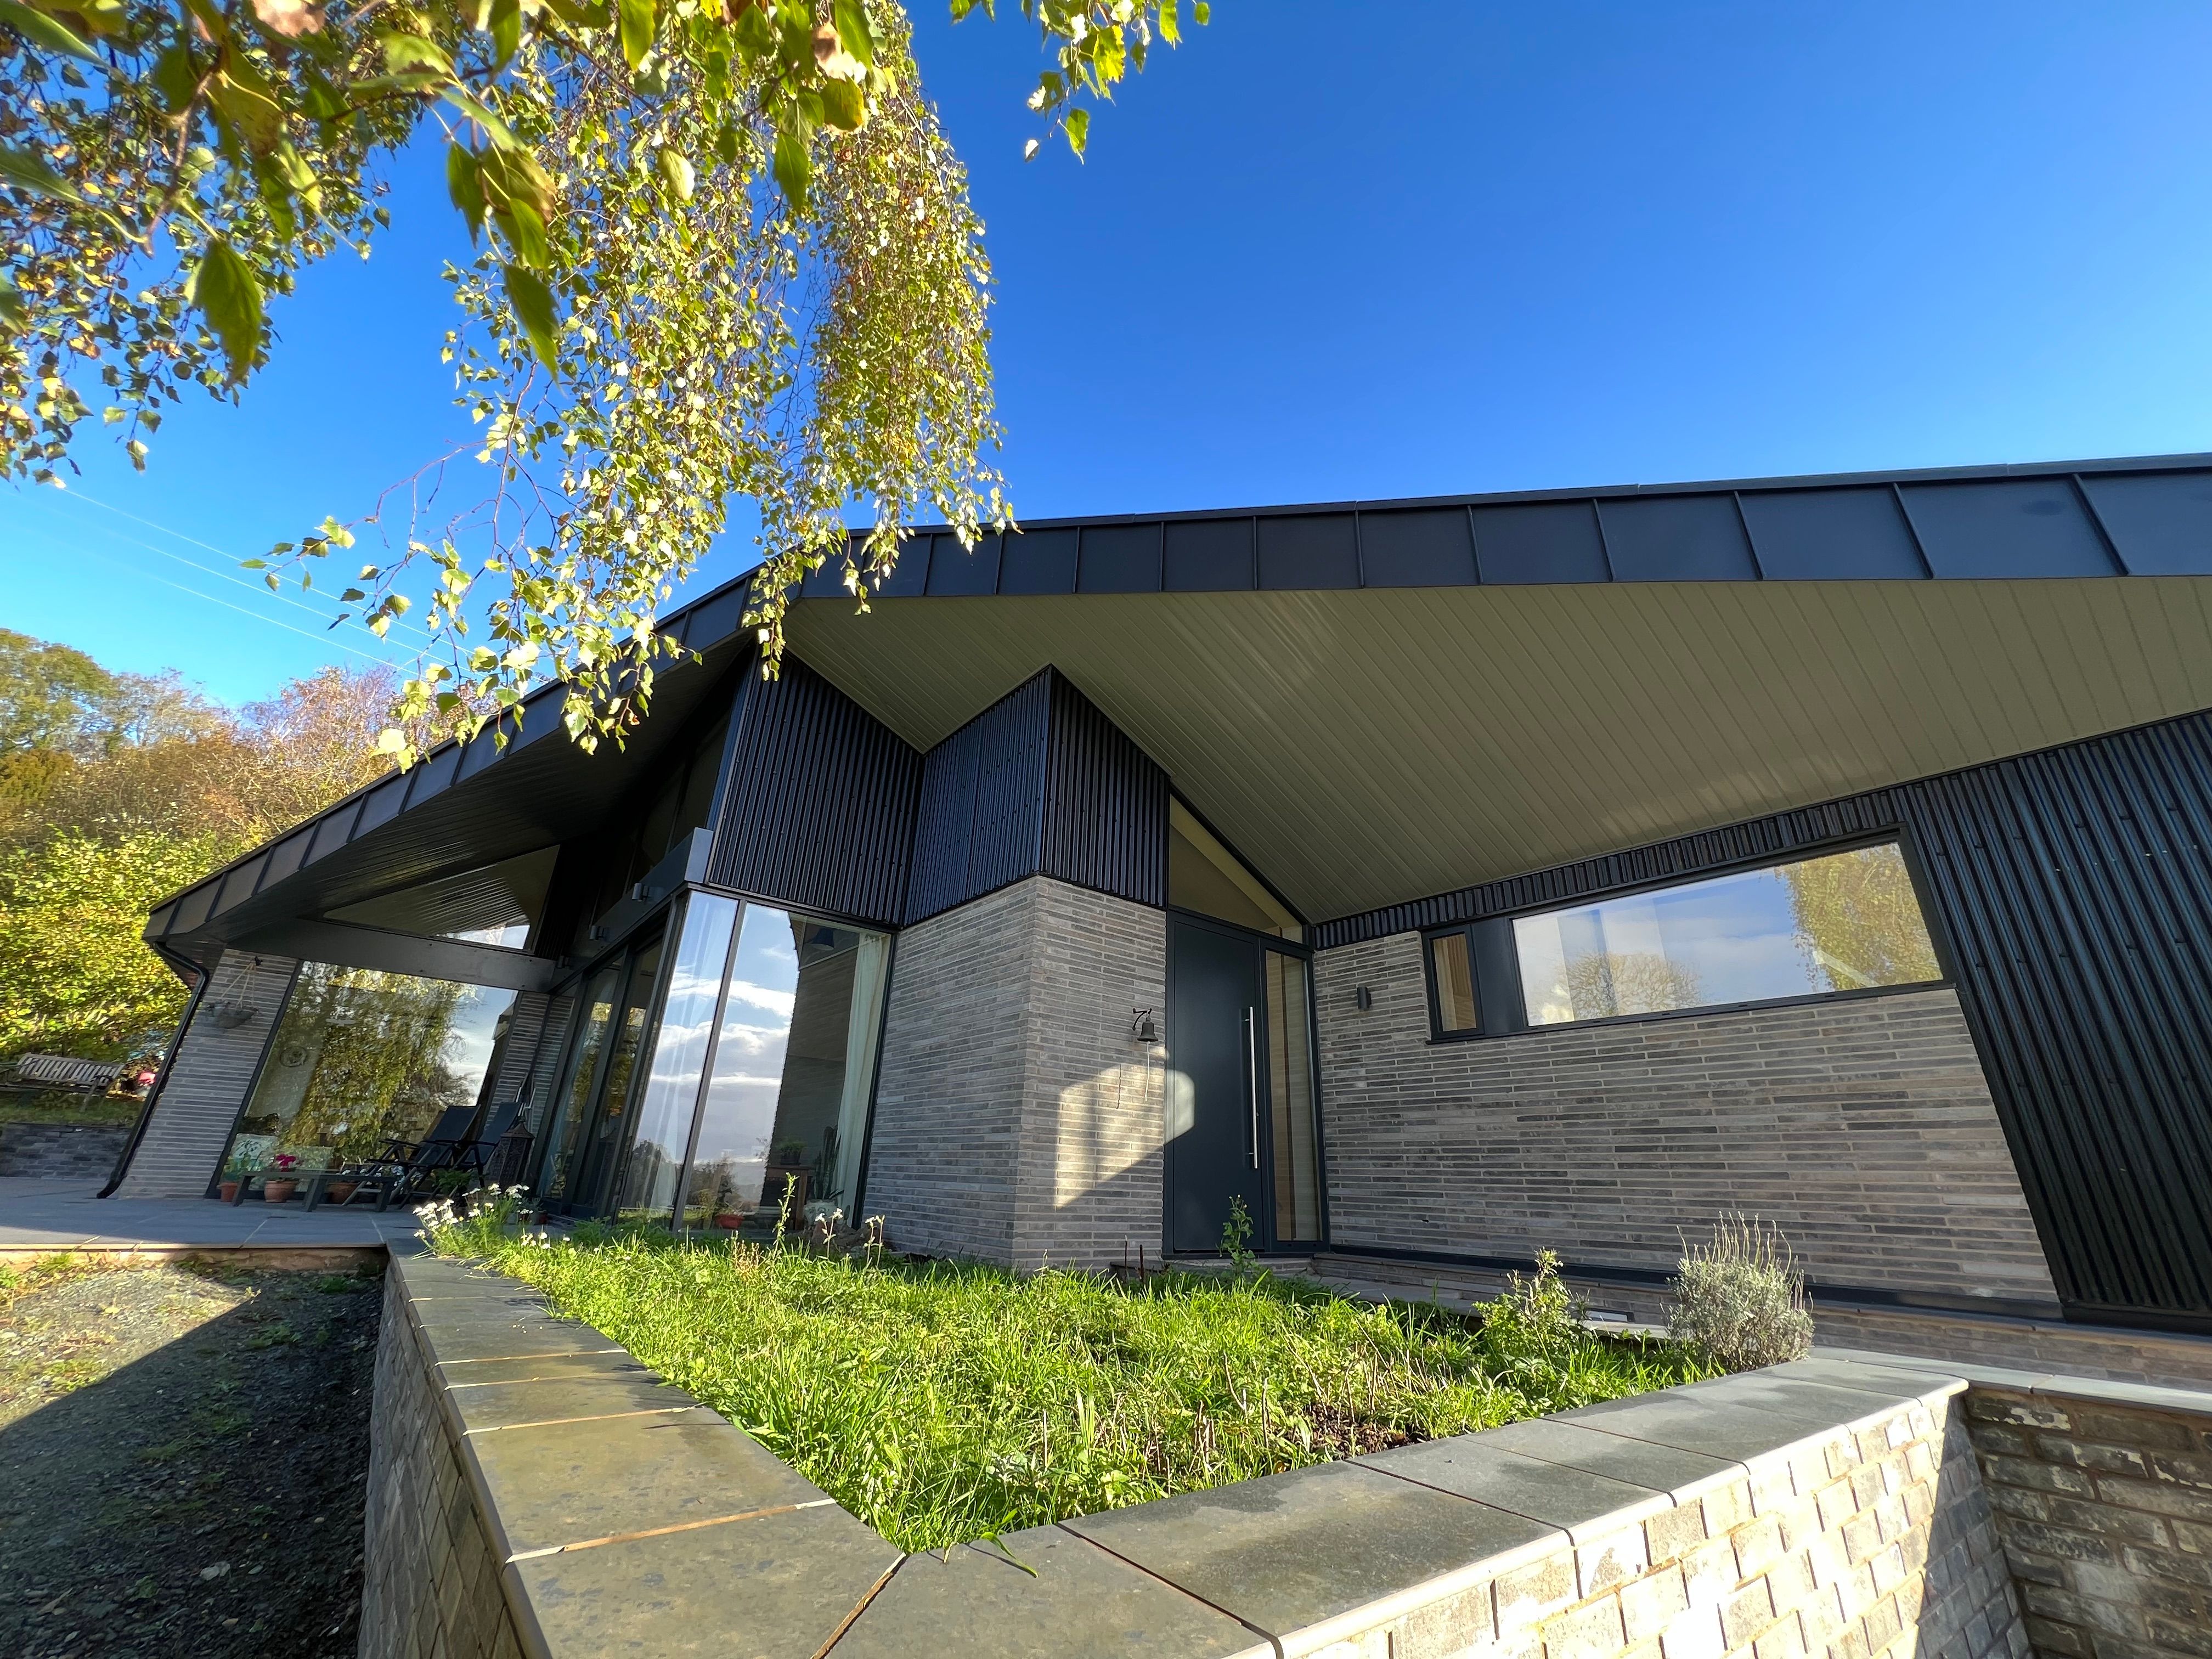
British Homes Awards Finalist 2024. New build house in an AONB (Area of Outstanding Natural Beauty.)
-
)
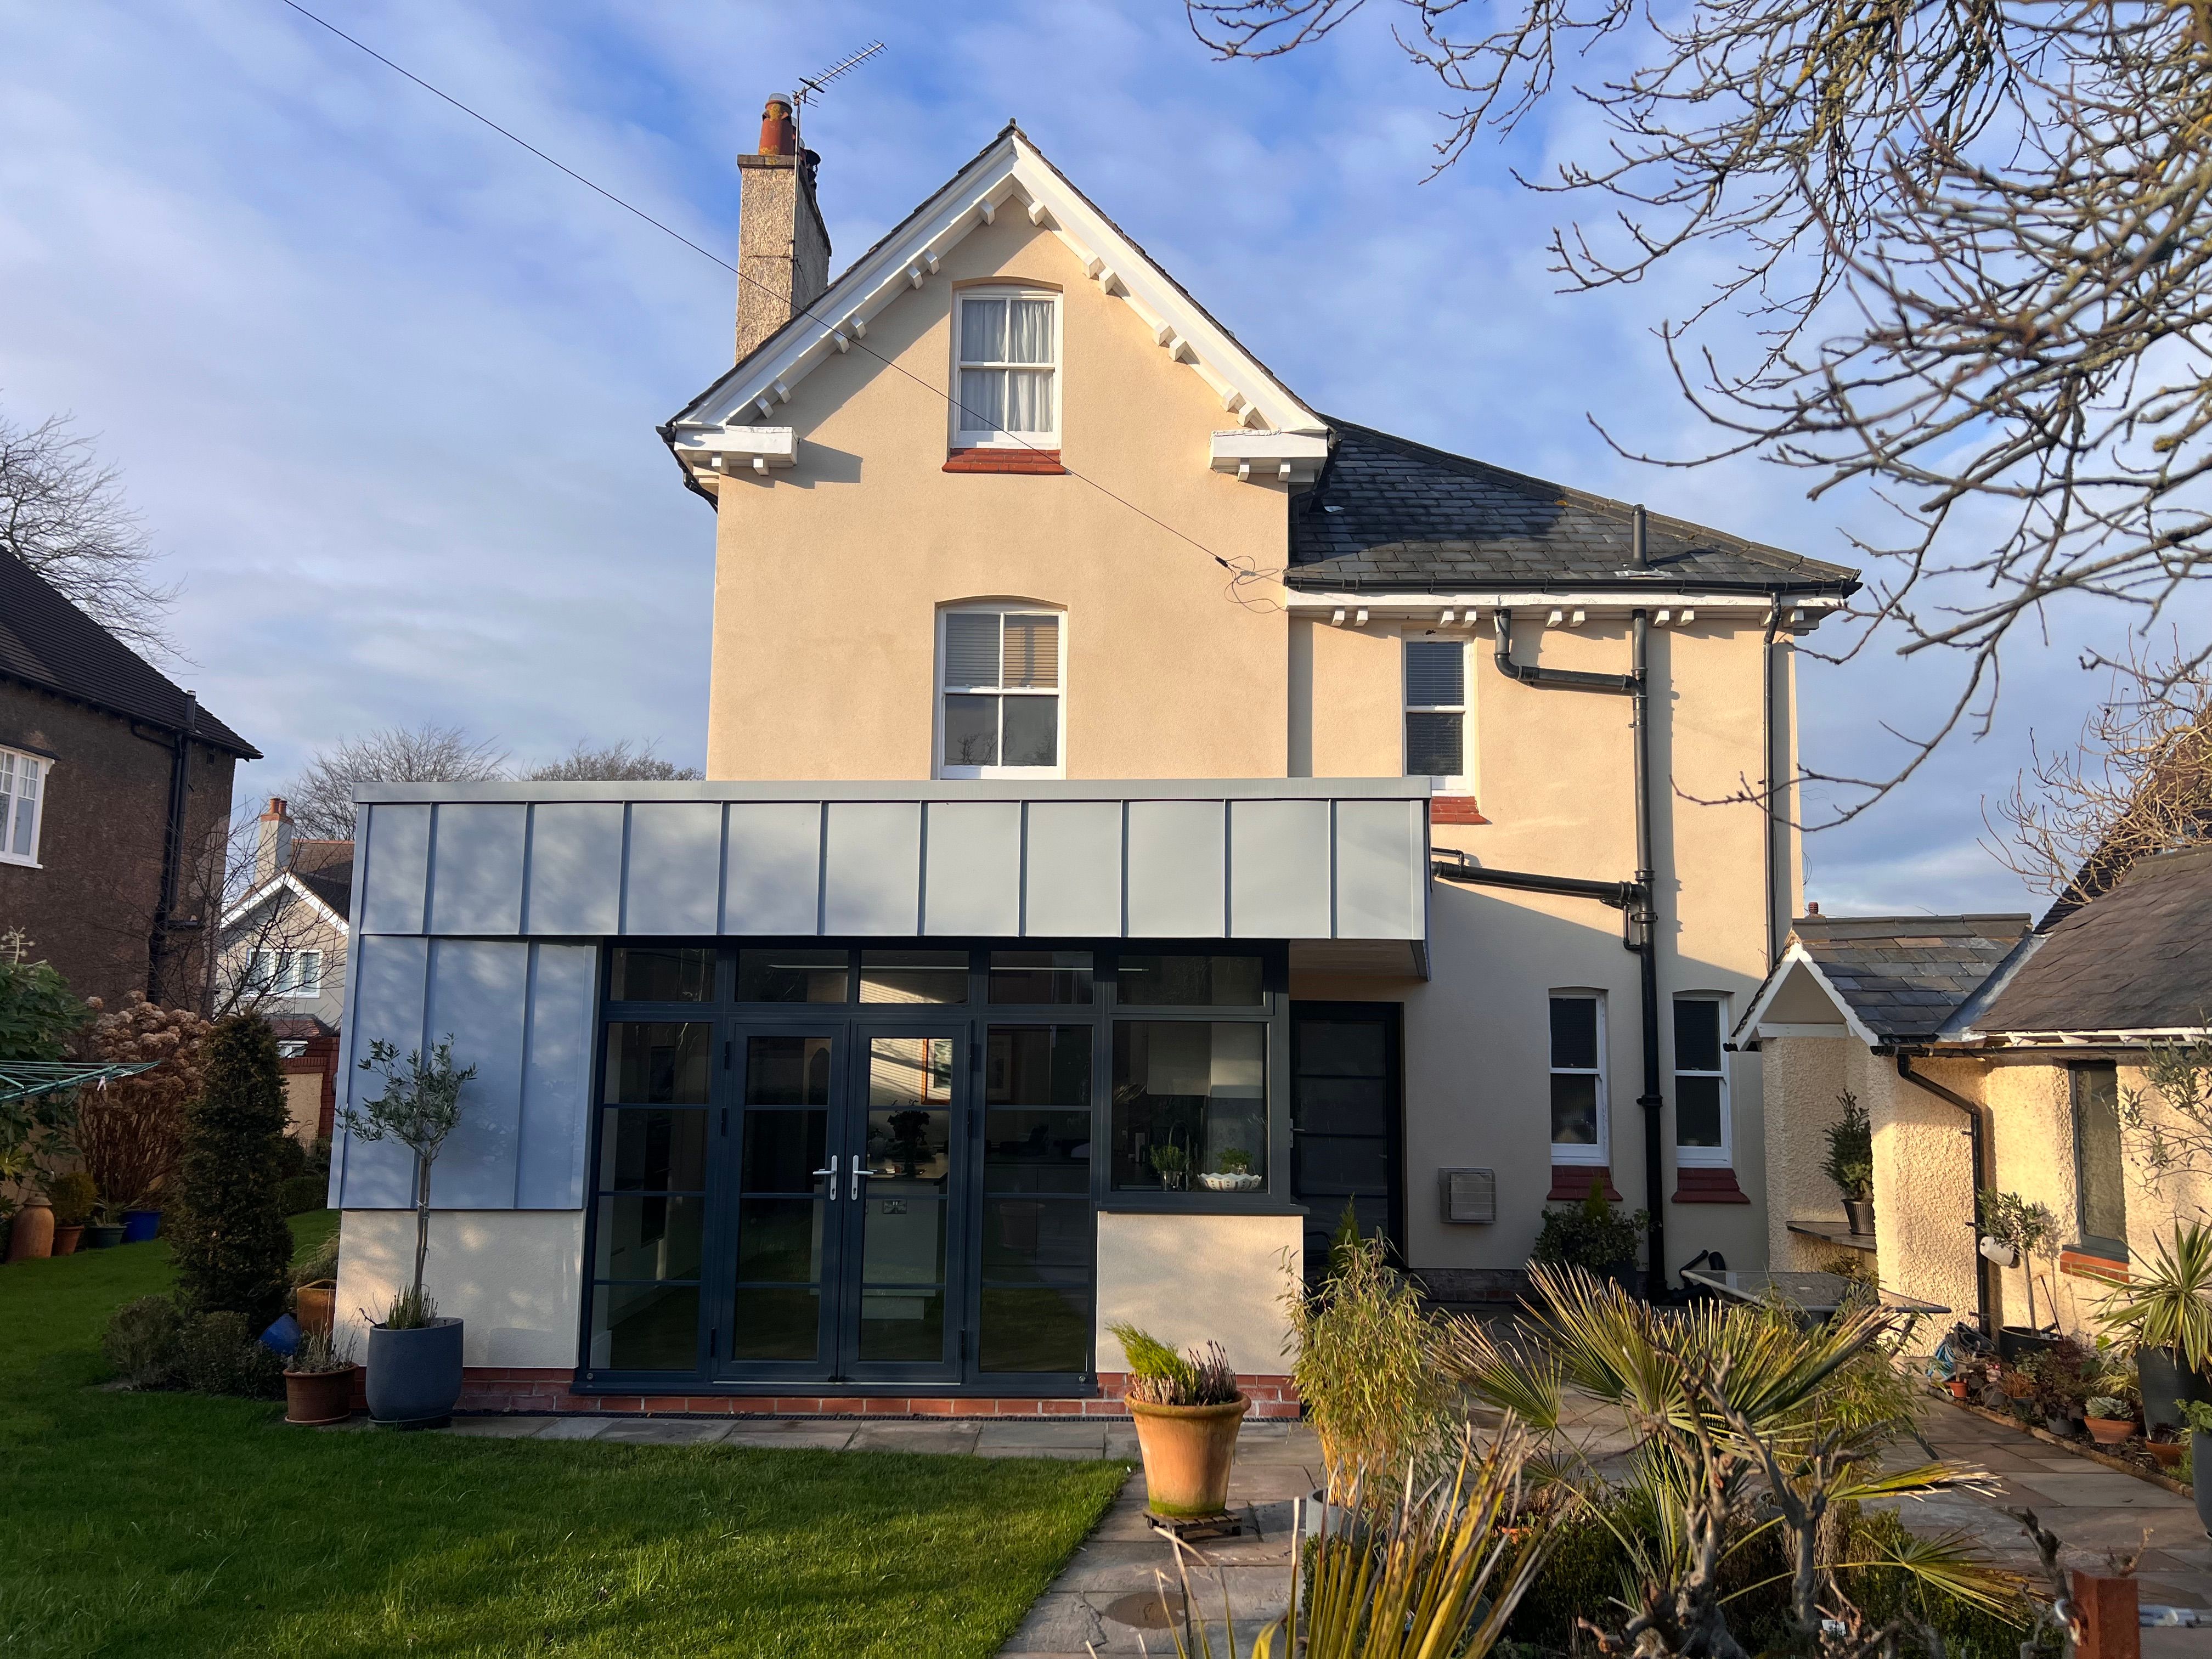
Extension and remodel of a rural semi-detached home in Shropshire.
-
)
Full remodel and extension to a cottage in the Shropshire countryside.
-
)
Supercar Garage.
-
A stunning, clean modern glass garden room extension to a country house.
-
)
Contemporary first floor addition.
-
)
The S2. Our most compact homelift.
The S2 Homelift is the smallest model in the Uplifts range, designed with convenience and practicality in mind
-
)
The S3. Our most spacious homelift.
Discover the S3 homelift: elevating style and accessibilityThe S3 homelift seamlessly combines cutting-edge design with advanced technology, offering a stylish and practical solution for improving your home’s accessibility.
-
)
Rotpunkt Küchen blends German innovation with sustainable living. Since 1930, it has crafted premium, eco-conscious kitchens with sleek design and precision. Using up to 90% recycled wood and carbon-neutral production, Rotpunkt offers minimalist to natural styles—proving high-end kitchens can be both stylish and sustainable.
-
)
Qudaus Living offers bespoke media wall solutions designed to go beyond simply housing a TV. Their modular systems—available through personalized design appointments—combine clever storage, recessed TV niches, shelving, and optional integrated lighting and fireplaces. Crafted to suit individual living styles, these media walls integrate seamlessly with kitchen and living spaces, creating functional, stylish hubs for modern homes
-
)
Contemporary German Handless Kitchen
Units - Rotpunkt
Range - Sherwood Flamed Oak on island + Zerox MA Carbon on Talls
Worktops - Dekton Laurent
Appliances - Siemens
-
)
Mackintosh kitchens by Omega PLC blend contemporary elegance with durable craftsmanship, ideal for modern apartments and homes. Their range includes smooth-matt and gloss finishes, handle‑less and narrow‑framed Shaker-style designs, in signature colours like Indigo Blue, Slate, British Racing Green, and Limestone. With sleek lines and a minimalistic aesthetic, Mackintosh offers style and longevity in one refined package.

)


)